 My daughter Maren and I went to a Silver Beaver award ceremony for my dear friend, Janice last week and following the event we stopped in at Kneaders Bakery for a little treat. They had the most adorable shamrock sugar cookies ever! The next day after work I popped in to my very favorite little kitchen store, Gygi's in Salt Lake City and picked up my own shamrock cookie cutter and a decorating tip to pipe the edges of the cookies.
I should mention here that I don't actually like to make sugar cookies. They take a ton of time! You've got to make the dough. Chill the dough. Roll out the dough. Cut the dough. Cook the dough...repeat that whole process a gazillion times and then you have to get to frost them. Makes me tired just thinking about it. Yeah, we only make sugar cookies around here on Christmas Eve and that's only because it's Jeff's family tradition. At the end of this post I'll tell you about one of the best Christmas gifts I ever received.
Have I scared you away yet? Hang in there. It'll be worth it. Life changing in fact, like when I told you about frosting cupcakes. Yup, that good.
Normally...ok, the one and only time each year that I make sugar cookies, I frost them with the Best Ever Buttercream Frosting (really, that's the name). While it actually is the best ever and while it does set up ever so slightly I didn't think it would travel very well and the frosting would get smooshed in transit and why work so hard if they aren't going to look fantastic, right? With the help of the oh so kind employees at Kneaders they walked/talked me through the easiest way ever to frost sugar cookies. I looked up some recipes online and with my son Connorton as my official taste tester, we've got this all figured out for you.
 Let's start with the sugar cookie recipe:
Nicole's Sugar Cookies
1/2 cup butter, has to be the real stuff
1/2 cup shortening
1 cup sugar
3 eggs
3 1/2 cup flour
1 tsp baking soda
2 tsp cream of tarter
1 1/2 tsp vanilla

Cream the butter and the shortening. Add the sugar and mix. Add the eggs and mix just until the eggs are blended in. Add the soda, cream of tarter and vanilla but mix just until blended - you don't want to over mix once the eggs are in. Add the flour. The recipe calls for 3 1/2 cups but you will need more than that. The key to keeping the cookies soft is adding enough flour. Add the 3 1/2 cups (one cup at a time and mixing after each addition), then use your fingers to determine how much more to add. It will be different every time you make them because your eggs will never be the same size. Pinch the dough. If it is sticky and you can pinch through it easily, you do not have enough flour. You want the dough to be soft, but not really sticky. You want to have some substance to it. Just keep adding 1/2 cup of flour, mix and pinch until it is just right. Chill the dough for at least 2 hours. Roll out to 1/4 to 1/2 inch thick. Cut into shapes and bake at 350 for 8 minutes. They are not going to look like they are done yet but take them out anyway. Be careful when transferring to rack or other cooling surface they will be really soft. As they cool they will become easier to handle.
Cool completely and frost.
This recipe is from my friend Nicole who knows that I don't like to make sugar cookies and knows that they are Jeff's favorite (his very favorite are Pumpkin Chocolate Chip...yeah, I don't make those either) so every time she makes a batch she shares with him. I have really great friends. Jeff's bookkeeper makes him Pumpkin cookies so don't feel too badly for him.

Tips & Tricks:
1. These are a few of my favorite cooking tools:
My rolling pin - I love it. It is long and has no handles. I have the other kind but I never, ever use them. I've had this one since I got married and my kids will probably fight over it when I'm gone. Never soak them in water. Just wipe them clean with a damp cloth. Mine is wood but they have a composite one at Gygi's that is very affordable.
Mini-spatula - I love these. Came from Gygi's, of course. They are very inexpensive - usually .99 - and are the perfect size for dishing up little desserts, cookies and bars - 2 1/4" wide. In this case I used it to help me lift the sugar cookies off the counter. Dip it in flour to prevent dough sticking.
Scraper - I use this tool all the time. It's a great tool for dividing dough and scraping clean your kitchen counter (see figure 3)
2. Dip your cookie cutter into flour in between each cutting and your dough will never stick to the cookie cutter. When lifting the cut cookie off the counter, dip your spatula into flour and press down on the counter while inserting under the dough. Dough will not become misshapen and will easily slide off spatula and onto the baking tray.
3. As I mentioned above: Clean up is made much easier with this handy little scraper. They have one similar to mine at Gygi's - usually .99. Scrape the flour and cookie dough gunk from the counter and sweep right into the garbage. Wipe counter down with a damp cloth and you're good to go.
Jeff always says: "Right tool for the right job." He's a smart man.
On to the frosting!
This is life-changing...
 Vanilla Dipping Frosting
 Vanilla Dipping Frosting
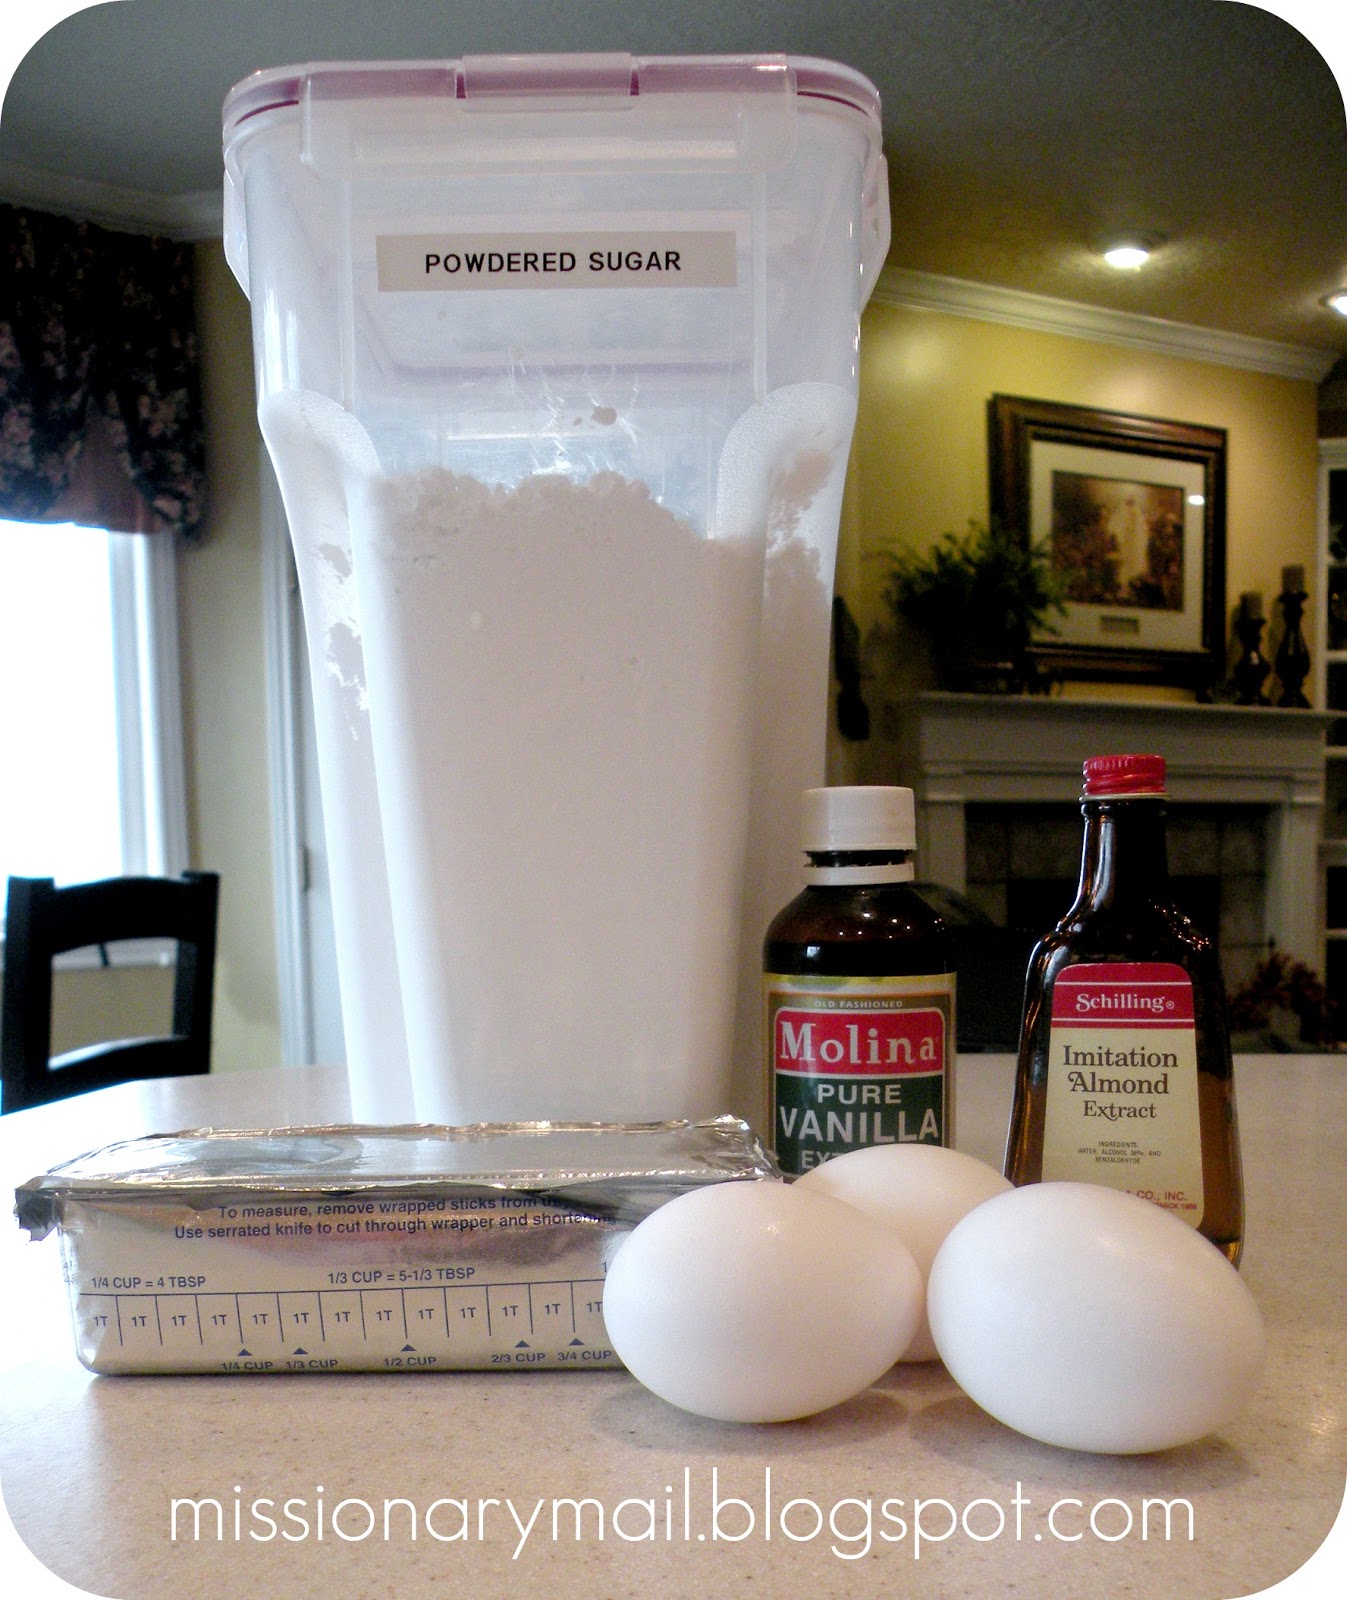
6 cups powdered sugar
1/2 cup water
2 Tbs light corn syrup
1 tsp vanilla
In a saucepan, combine powdered sugar, water and corn syrup. Cook over low heat, stirring constantly, until it reaches a temperature of 92 degrees F (33 degrees C). Mixture should be thin enough to pour, but thick enough to coat the cookie. Do NOT let the temperature get over 100 degrees F or the icing will not dry shiny. Dip the baked and cooled cookie in the icing. Lay the cookies out single until icing is dry. IF it does go above the 92 degrees F, do NOT throw it away. It just won't be shiny but it will still taste great. It's all good.
I used the Vanilla Dipping Frosting to frost the tops of the cookies. So FAST!! Just hold onto the sides of the cookie and dip the top into the frosting, lift the cookie up and let some of the excess drip off then flip it over onto a cookie sheet to dry. This frosting dries really quickly so I did find that I needed to give it a quick stir prior to dipping each cookie and once or twice I needed to turn the element back on and warm it back up slightly to keep it the consistency that I wanted. This will dry hard to the touch but not as hard as royal frosting and it won't break into bits when you bite into it. I was able to frost the entire batch of 48 cookies in just a matter of minutes with not much frosting left over. I just left the frosting white - mostly because it didn't even occur to me to add color to it but it would be totally darling to have it tinted a light green then pipe with a little darker green. Cute!
Now for the piping frosting...
 Cutout Cookie Icing
3 egg whites, room temperature*
Whip for 2 minutes at fast speed until stiff
Add:
1/2 tsp almond extract
1 tsp vanilla
4 cups (1 lb) powdered sugar
Mix all together.
Add:
2 Tbs shortening
coloring, if desired
Mix on low speed until smooth. If you want to make a glaze from this,
just add a little hot water. This frosting dries firm to the touch but again it is not as hard as royal frosting. It's pretty and tasty and it dries very quickly so you can stack the cookies.
Keep the frosting stiff if you plan on using it for piping.
You can also use this to frost your cookies but it won't be as fast as the dipping frosting.
*Room temperature eggs: If you forget to get them out of the fridge in time for them to come to room temperature, just put them into a bowl of hot water for a few minutes.
Let's get piping!! This may look a bit intimidating if you've never done it before but it's really not bad at all. Just practice on a cookie or on a bit of parchment paper or wax paper...or a plate. You'll be fine. Promise.
First we need to load our bag with frosting:
 I like to use a disposable pastry bag because I'm really pretty lazy about some things. You will need to fit your decorating tip into the bag to see where you need to snip the end off. Snip it off then insert your coupler inside, place the tip over the coupler but on the outside of the bag, screw the ring in place. Fold down the top of the bag ('cause we don't want to make too big of a mess).
Hold the bag with your hand (shown at left) and load frosting by the spoonful. Use the thumb that is holding the bag to scrape the frosting from the spoon. You can fill this pretty full just make sure that you leave enough head space so you can twist the top closed.
When you've loaded the frosting into the bag, fold the top back up and use your fingers to work the frosting down into the end of the bag (shown at left).
Twist the top and hold. You will keep your hand on this twist while decorating. Occasionally untwist and work the frosting down into the end again. Refill when necessary.
Cute!! I've included a little video clip of how I piped the frosting on. It really went pretty fast once I got the hang of it which didn't take too long. Let them dry completely then wrap them individually in syran wrap to insure freshness.
So, assuming that you're still with me...here's the story of one of the best Christmas gifts I've ever received. I work outside the home. It's only part time but that's how we support our missionaries and it is what it is and most of the time it works out pretty well but occasionally (sometimes more often than that) I get a little stressed...or a lot. This year I had to work on Christmas Eve. Yeah. Mom's don't have anything to do on Christmas Eve do they? I thought I was doing pretty well getting done early what could be done early but some things just can't be done too early. One of those things was making sugar cookies with the kids for them to leave out for Santa. Jeff's family tradition. Jeff and I work at the same place and late in the afternoon on Christmas Eve he called me into his office and presented me with a gift from Mike (one of the other accountants) and his wife Nicole. A beautifully decorated clear box - it was a Sugar Cookie Kit!!! Full of Nicole's fresh baked sugar cookies (recipe above), red and green frosting (yup, you guessed it...her Best Frosting Ever recipe) and cookie sprinkles. I cried. Seriously. The weight that that gesture took off my shoulders was incredible. I'm crying again just thinking about it. The best gifts come from the heart. Thanks, Nicole...and I hope that you don't mind that I just posted your two favorite recipes all over the internet! Oh, and here's her frosting recipe!
Nicole's Best Frosting Recipe Ever
1/3 cup butter, softened
3 cup powdered sugar
3 Tbs milk
1 1/2 tsp vanilla
food coloring, optional
Mix together until very creamy.
Don't forget to lick the beater!!
Cute, Cherylann. You know, of course, that I would be HAPPY to be a taster (or was that "tester") for you...anytime. I'm good like that. Flexible. So. Just holler, or call, or text.
ReplyDeleteYou're funny, Janice! I just may have to call you next time...I hesitate to even figure out the calories used when taste testing. Scary!
ReplyDeleteThank you so much for your words you left.
ReplyDeleteThanks for the info, really appreciate it. Keep Blogging!
Simran Kaur
Accounts Software For Small Business